MyPainCave is reader-supported. When you buy through links on our site, we may earn an affiliate commission at no extra cost to you. As an Amazon Associate we earn from qualifying purchases.
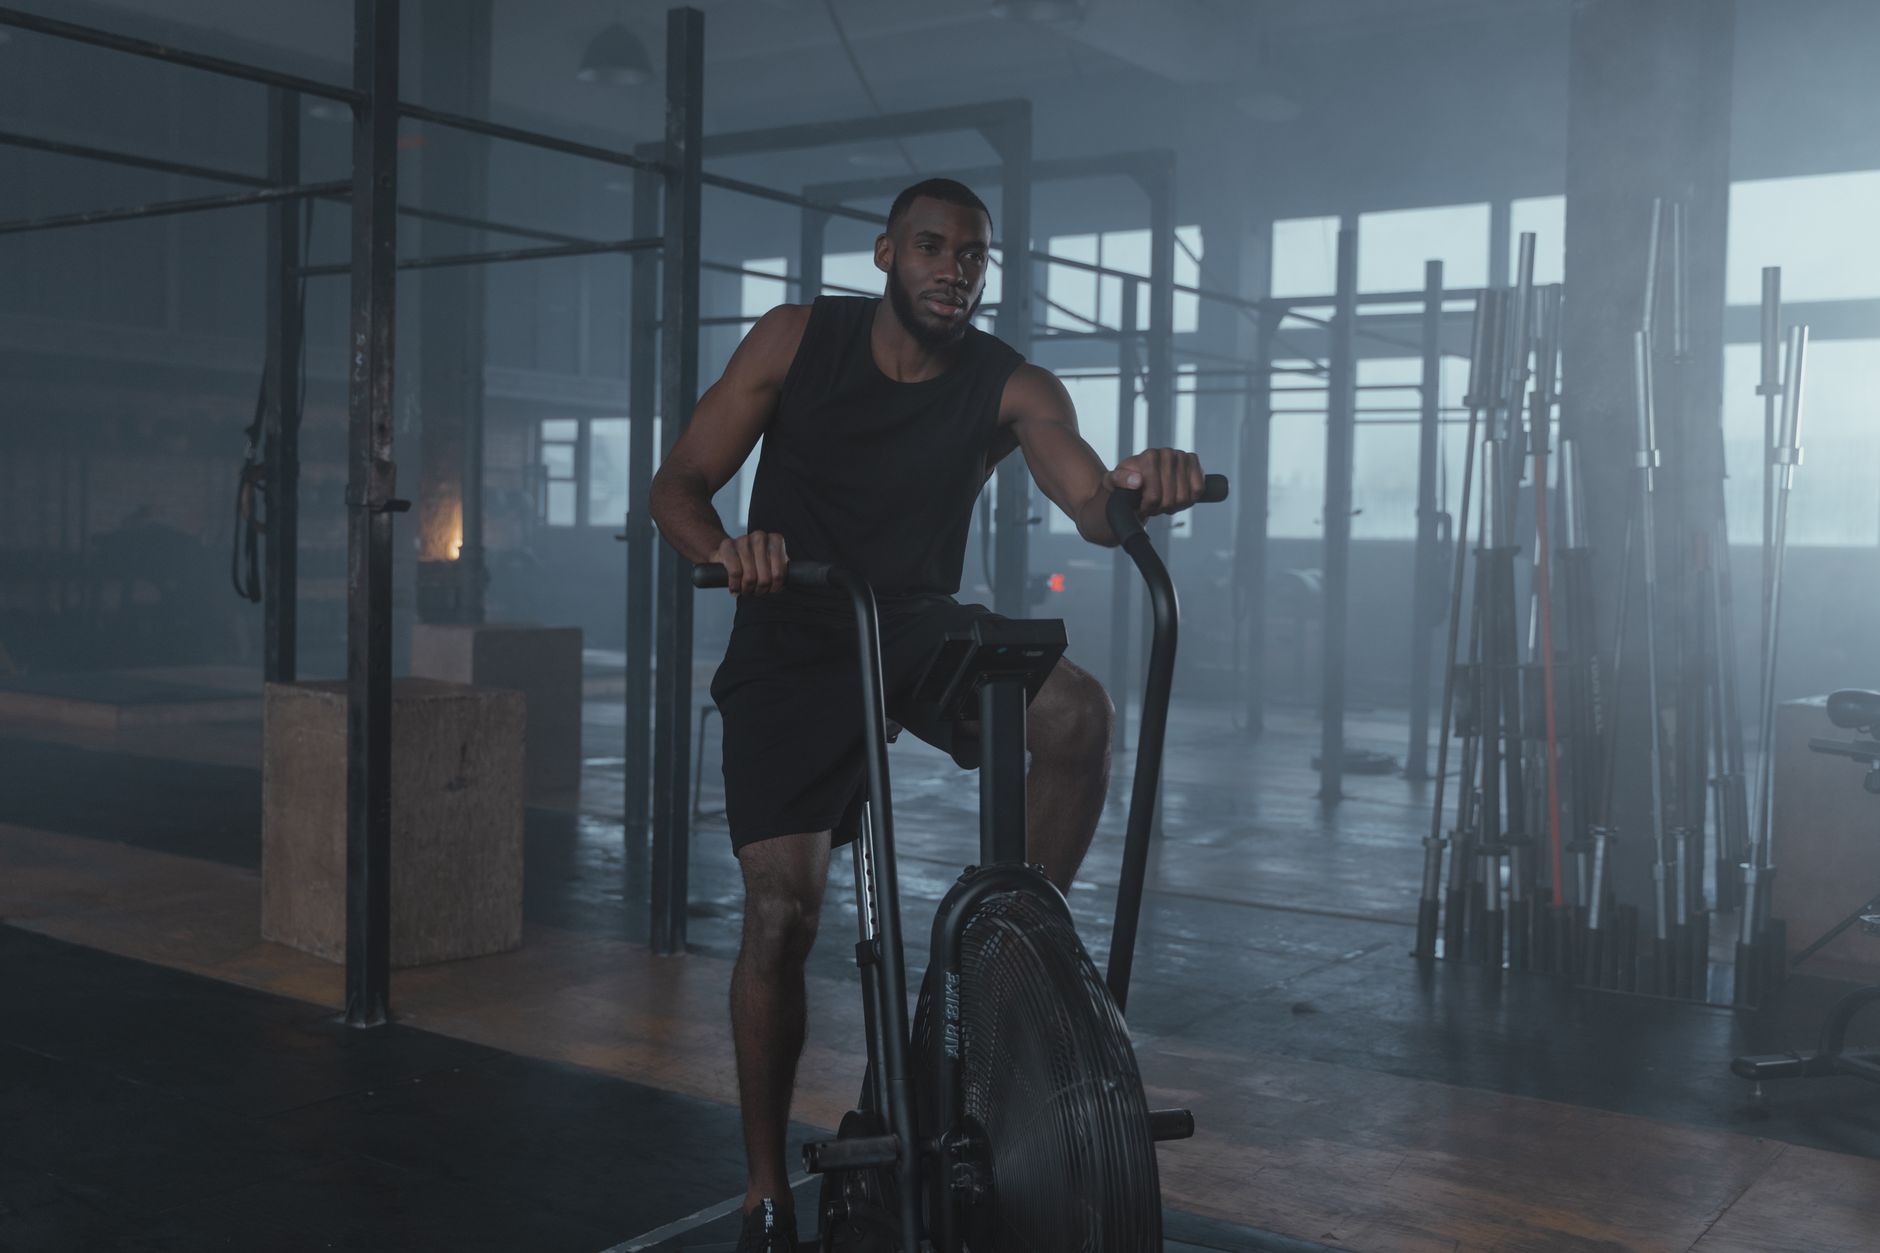
Every indoor cyclist eventually learns the same lesson: the smart trainer is the easy part. What ends sessions early is heat, sweat dripping into your eyes, a tablet balanced on a chair at the wrong angle, and the neighbor knocking on the ceiling. A pain cave, the cycling community’s name for a dedicated indoor training space, solves those problems once so every session can focus on the work.
You do not need a spare room or a big budget. This guide walks through the setup in order of impact, whether your machine is a smart trainer, a smart bike or a rower.
Key takeaways
- Cooling comes first: indoors there is no headwind, so a strong fan aimed at your torso is the most important accessory you can buy.
- A dense mat protects the floor from sweat and cuts vibration, which matters more than airborne noise on upper floors.
- Protect the bike: sweat corrodes headsets, bolts and bar tape faster than winter roads.
- Put the screen at eye level straight ahead, and keep the phone or computer close to the trainer for stable connections.
- Build the cave in a cool room with good airflow; garages and basements beat bedrooms.
Pain cave essentials
- 1
Cooling
Wahoo KICKR HEADWIND smart fanShaped airflow aimed at a riding position, with speed that can follow your heart rate or speed. 447 ratings average 4.6 stars; buyers praise the cooling, though some find it pricey.
Check price → - 2
Floor protection
Wahoo KICKR MAT (36 x 78 in)Water-resistant, anti-slip and noise-insulating, sized for a bike on a trainer. Over 1,200 ratings at 4.7 stars.
Check price → - 3
Bike protection
Elite Protec Plus sweat guardSpans from the handlebar to the seat post to catch sweat before it reaches the headset and top tube. Machine washable.
Check price → - 4
Level the bike
Flexzion front wheel riser blockRaises the front wheel about 1.5 inches so the bike sits level on the trainer, with a rubber base that buyers say stays put.
Check price →
1. Choose the right room
Heat is the enemy indoors, so start with the coolest space you have. Garages, basements and rooms with a window you can open are ideal. A small bedroom with the door closed will be several degrees warmer after 30 minutes of hard riding, and every degree costs you power and motivation.
Think about noise next. Direct-drive trainers are quiet, but vibration travels through floors. A ground floor or concrete slab is the best place for any trainer or rower. If you live upstairs, place the setup away from shared walls.
Plan for roughly 6.5 x 3 ft for a bike on a trainer, plus room for a fan in front and a screen. A rower needs far more length: a Concept2 RowErg, for example, asks for a 9 x 4 ft area.
2. Cooling: the most important upgrade
Outdoors, riding at 20 mph creates a 20 mph headwind that carries heat away. Indoors you get none of that, so your body relies on sweat, which is far less effective in still air. The result is a rising heart rate at the same power, and workouts that feel much harder than they should.
The fix is airflow aimed at your torso and face. Any strong floor fan helps; many riders use two, one in front and one from the side or above. Purpose-built options such as the Wahoo KICKR HEADWIND shape the airflow around a riding position and can link fan speed to your heart rate or speed, so it ramps up during intervals and calms down during recovery. Buyers praise its cooling and the heart rate-controlled speed, while some find it expensive.
If you are on a budget, a high-velocity floor fan is the best value you will find in the whole setup. Search for one with a metal blade guard and at least three speeds (browse high-velocity floor fans). Open a window too: fresh air lowers humidity, which helps sweat evaporate.
3. Floors and noise: get a proper mat
A trainer mat does three jobs: it protects the floor from sweat (which is salty and will mark wood and carpet), it stops the trainer creeping on smooth floors, and it absorbs some vibration. The Wahoo KICKR MAT is sized at 36 x 78 inches to fit under a bike and trainer, and buyers consistently describe it as stable and grippy. Its most common criticism is price.
Rowers need a longer mat. Rowing-specific mats such as the POWR LABS rower mat (36 x 102 inches) cover the full length of the rail. Buyer feedback on that mat is mixed on thickness and grip, with some reporting the rower still moves, so favor a thick, dense mat on smooth floors.
If noise is a real issue, think in layers: a dense mat, then a second layer of interlocking gym tiles underneath. Combined with a direct-drive trainer, this is usually enough for apartment living.
4. Sweat management: protect you and your bike
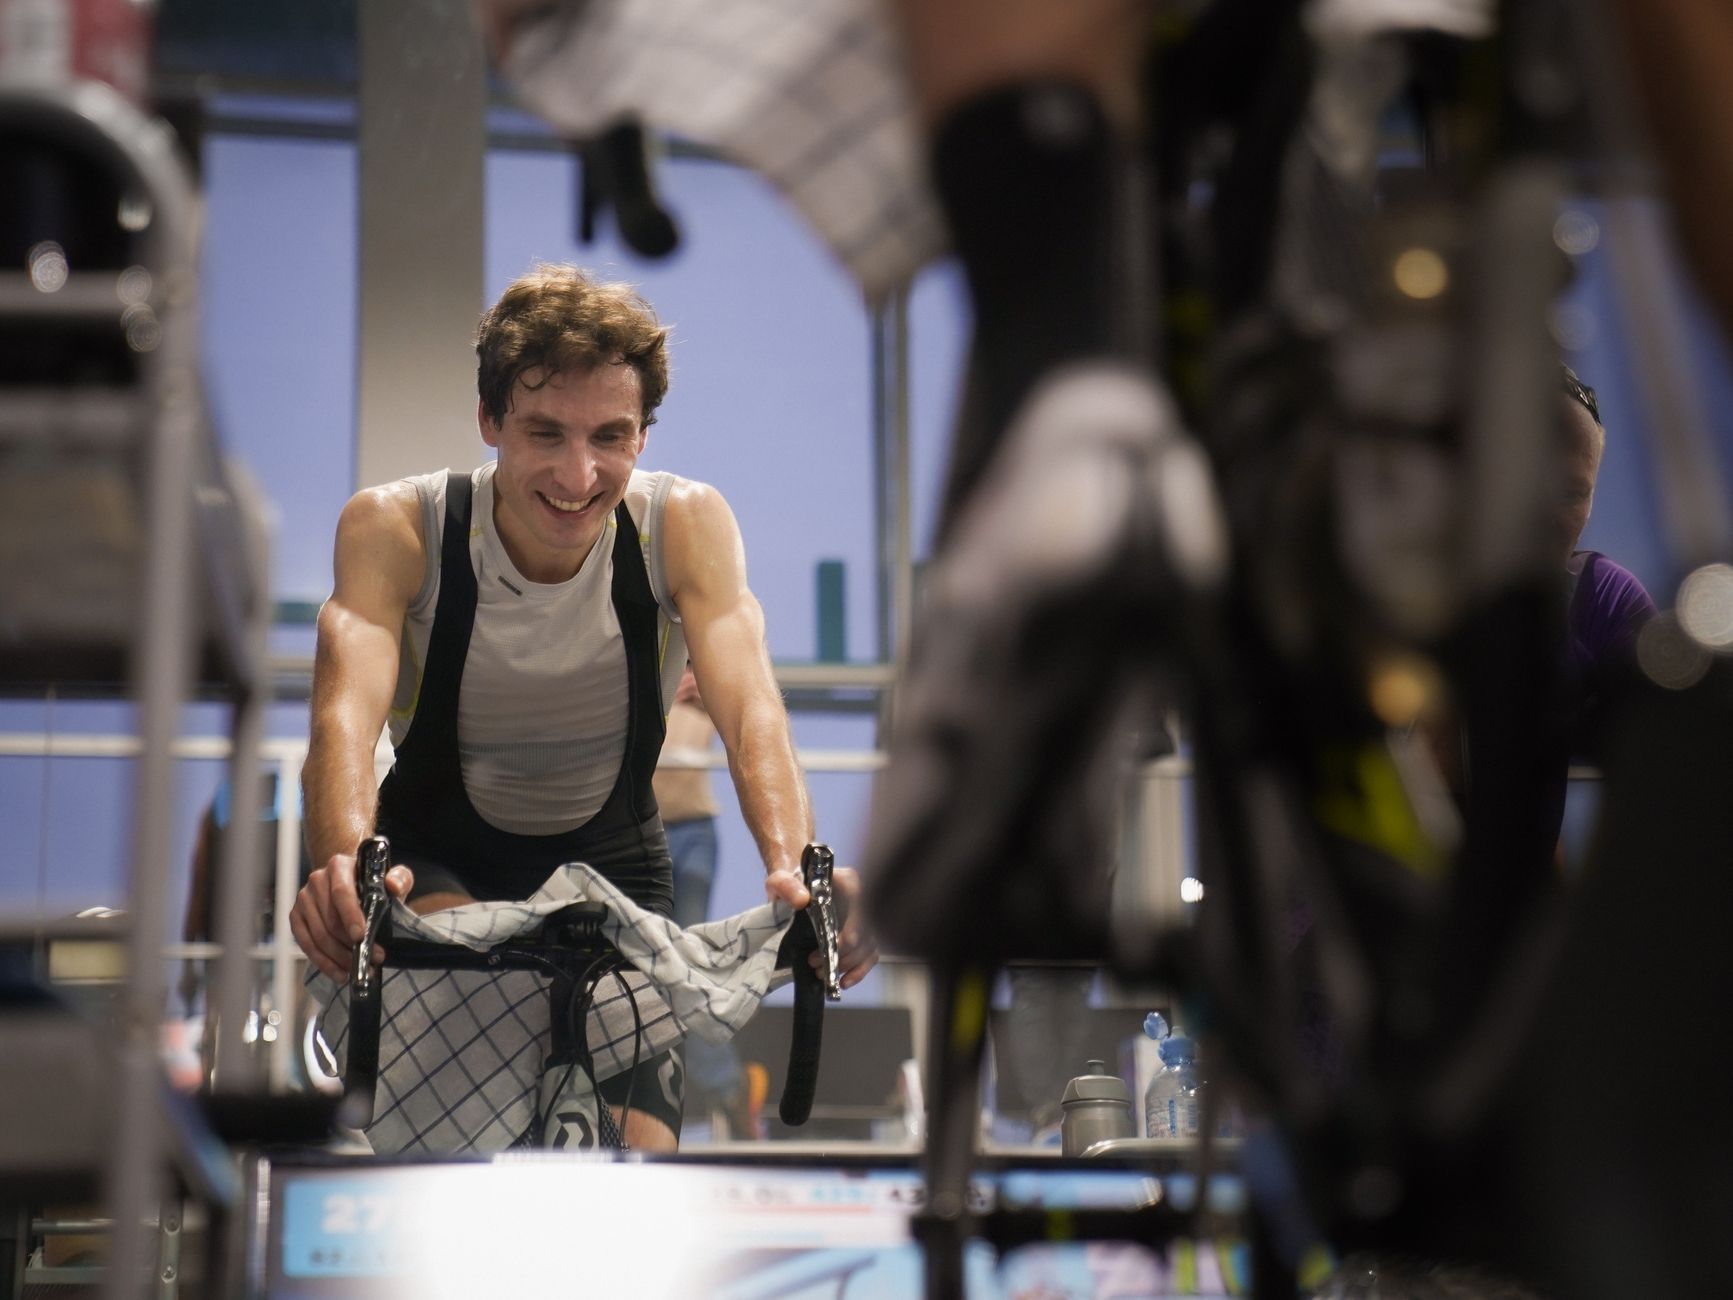
An hour of hard indoor riding can produce a lot of sweat, and almost all of it falls on the bike. Salty sweat corrodes headset bearings, stem bolts and handlebars, and soaks bar tape. Protect the bike with a sweat guard such as the Elite Protec Plus, which stretches from the bars to the seat post over the top tube, and wipe the bike down after each session.
Protect yourself, too. Keep a towel within reach, a sweatband or cycling cap to keep sweat out of your eyes, and two bottles rather than one. For sessions over an hour, adding electrolytes to your drink helps replace what you lose. Wash your kit promptly; synthetic fabrics hold odor if left damp.
Many riders keep a dedicated “trainer bike,” often an older frame, precisely so the good bike never sees the sweat.
5. Screens and connectivity
Put your screen at eye level, directly in front of you. A tablet on the floor or off to the side leads to a craned neck and a twisted posture over long sessions. A tripod-style TV stand, a wall-mounted shelf or a small bike desk all work.
Connectivity problems are among the most common complaints about smart trainers. Most of them come from distance and interference, not a faulty trainer. Keep the phone, tablet or computer close to the trainer, avoid pairing the same sensor over both Bluetooth and ANT+ at once, and keep firmware updated. If you use ANT+ on a computer, a USB extension cable that puts the dongle near the trainer often fixes dropouts.
6. The bike itself
Level the bike with a front-wheel riser block such as the Flexzion riser; it raises the front wheel about 1.5 inches to match the trainer’s rear axle height. Check that your position matches your outdoor fit. Without the natural movement of riding outside, small fit errors show up as saddle discomfort quickly. A good pair of bib shorts matters more indoors than out, because you move around on the saddle far less.
If you are still choosing the machine at the center of all this, our smart trainer buying guide explains wheel-on vs direct drive. Rowing instead? Start with our Concept2 RowErg review or, on a budget, the Merach Q1S review.
A simple pain cave checklist
- Cool room with a window or good ventilation
- One or two strong fans aimed at your torso and face
- Dense mat under the trainer or rower
- Sweat guard, towel and two bottles
- Screen at eye level, device close to the trainer
- Front-wheel riser and a quick fit check
- A small shelf or table for nutrition, remote and phone
Get these right and the hardest part of indoor training will be the intervals themselves, which is exactly how it should be.